
Often we create dynamic elements and our web-app needs to know which element the user has interacted!, now that’s really easy if you put the event listener on every element the user might interact with. Every button for example but adding endless event listeners can cause problems so it’s best to keep that too a minimum.
So When we’re faced with a problem of trying to work out on which element ‘to click came from’ we need to turn to event.target.id
We’ll create a function in the event listener and it’s parameter will be an event (e) & that’s where the magic comes!

Now, you might be wondering,
What exactly is this thing called an event?

Well, an event can encompass a wide range of interactions in the browser, including actions like clicking, double-clicking, or even various types of scrolling!
Now, for the time being, we're focused on detecting clicks. Any event we catch is essentially a click event. The 'event' parameter (e) is automatically provided, saving us the trouble of declaring it. It becomes accessible as soon as the event happens, triggering the event listener. This parameter then gives us access to the specific details of that event.
Now let’s learn it through this example of project!
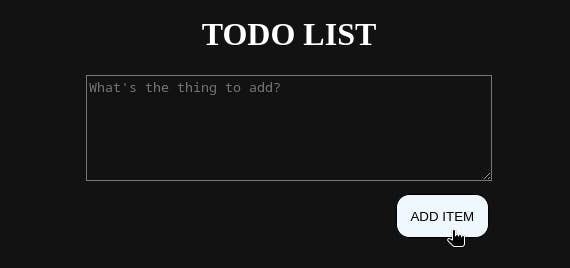
Let's log it out and take a closer look at what exactly it contains!
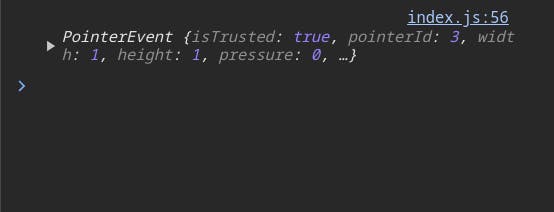
Upon inspecting the console, we encounter an output that may seem a bit different at first: PointerEvent {isTrusted: true}. Let's break this down to unravel its meaning and significance!
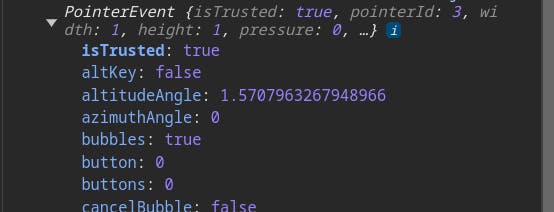
Let's explore how they log out the PointerEvent. Upon inspection, the output is enriched with additional information enclosed within curly braces, signifying that what we're dealing with is an object. Clicking on the little arrow adjacent to it opens up a wealth of information. While there's a lot to sift through, we'll skip over most of it and scroll down until we reach the 'target.'
Let's scroll down a bit until we find the 'target.' The 'target' provides insights about where the event came from. It informs us that the event originated from a button with the id '#btn'.
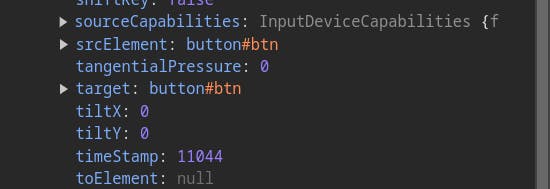
Clicking on the 'target' still reveals an abundance of information. However, for our current focus, let's zoom in on the 'id' information.
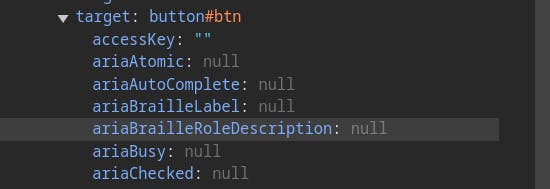
On scrolling it down we get information about id of that element clicked!
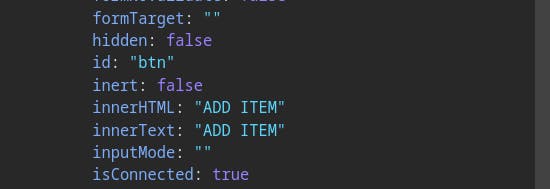
So Now, We Need to Remember the flow !
event → target → id
Now, let's log out e.target.id. Remember, an event is an object, and we can access its properties using dot notation like this...
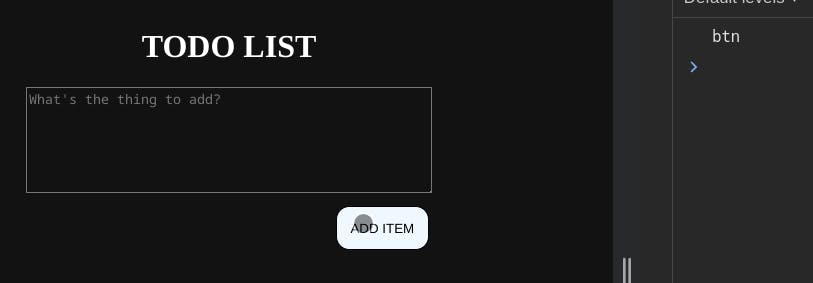
Now on picking up all of this event in the container , we’re logging out the id of the element that we’ve interacted with.

There We Are! That is how we use the event.target.id and that is a really useful tool and something you’re going to use a million times in your career!
Want to learn more? Stay tuned for my next blog! If you found this helpful, share it with others. Follow me for more interesting stuff.
Connect with me on Twitter Linkedln GitHub!
Thank you for Reading :)
